Author: Rakesh Retails

  • How Often Should You Service Your AC? A Practical Maintenance Guide 

    How Often Should You Service Your AC? A Practical Maintenance Guide 

    Every summer, another episode comes up: an AC unit that’s been fine for one moment too, simply… dies! No warning sign, no gradual decline, or so it seems. In fact, most breakdowns are not as sudden as they seem. It happens due to prolonged neglect of routine maintenance, and so before you start looking for emergency repair during the hottest period of the year, let’s clarify how often you should take good care of your air conditioner and why it is not exactly “once a year.”

    How often should you service your AC 

    In general, it is advisable to service your air conditioning unit at least every 3 to 4 months (at least 2 times per year), specifically before peak summer and before winter shutdown; in case of moderate internal appliance use, once every 2 months in case of excessive use of the appliance at home. Every month, filters of the air conditioning system should be checked and cleaned or replaced every 4-6 weeks during the intensive usage of the appliance.

    Why AC Maintenance Frequency Depends on More Than Just the Calendar

    Not all air conditioners need the same maintenance frequency due to a number of factors affecting how frequently it should be serviced in particular:

    • Time spent in use – The air conditioning unit that works all day long needs more maintenance than the one being used sometimes; 
    • Environment – Dusty roads, construction sites nearby, and pets staying at home contribute to clogging filters faster; 
    • Type of air conditioning system – Split ACs are different from window-type and central AC systems; 
    • Age of the unit – Old air conditioners need more frequent servicing to prevent breakdown. 

    Signs Your AC Needs Servicing Right Now

    If your air conditioning is already exhibiting some signs, you do not have to wait for the calendar date. Here is what you must keep an eye on: 

    • Weak airflow or reduce airflow. 
    • Water leakage or accumulation near the indoor unit. 
    • Unusual sounds like rattling, buzzing, or grinding. 
    • Increase in the electricity bill without any change in consumption. 
    • Warm air blowing instead of cool air even on a low temperature setting. 
    • Smell mildew when the AC is switched on. 

    Any of these situations mean that there is either dirt build-up, or some problem with the refrigerant, or a clogged filter of things that regular maintenance can fix before they require a major repair. 

    What a Proper AC Maintenance Service Actually Includes 

    Good, air-conditioned service is not limited to cleaning the outdoor unit only. 

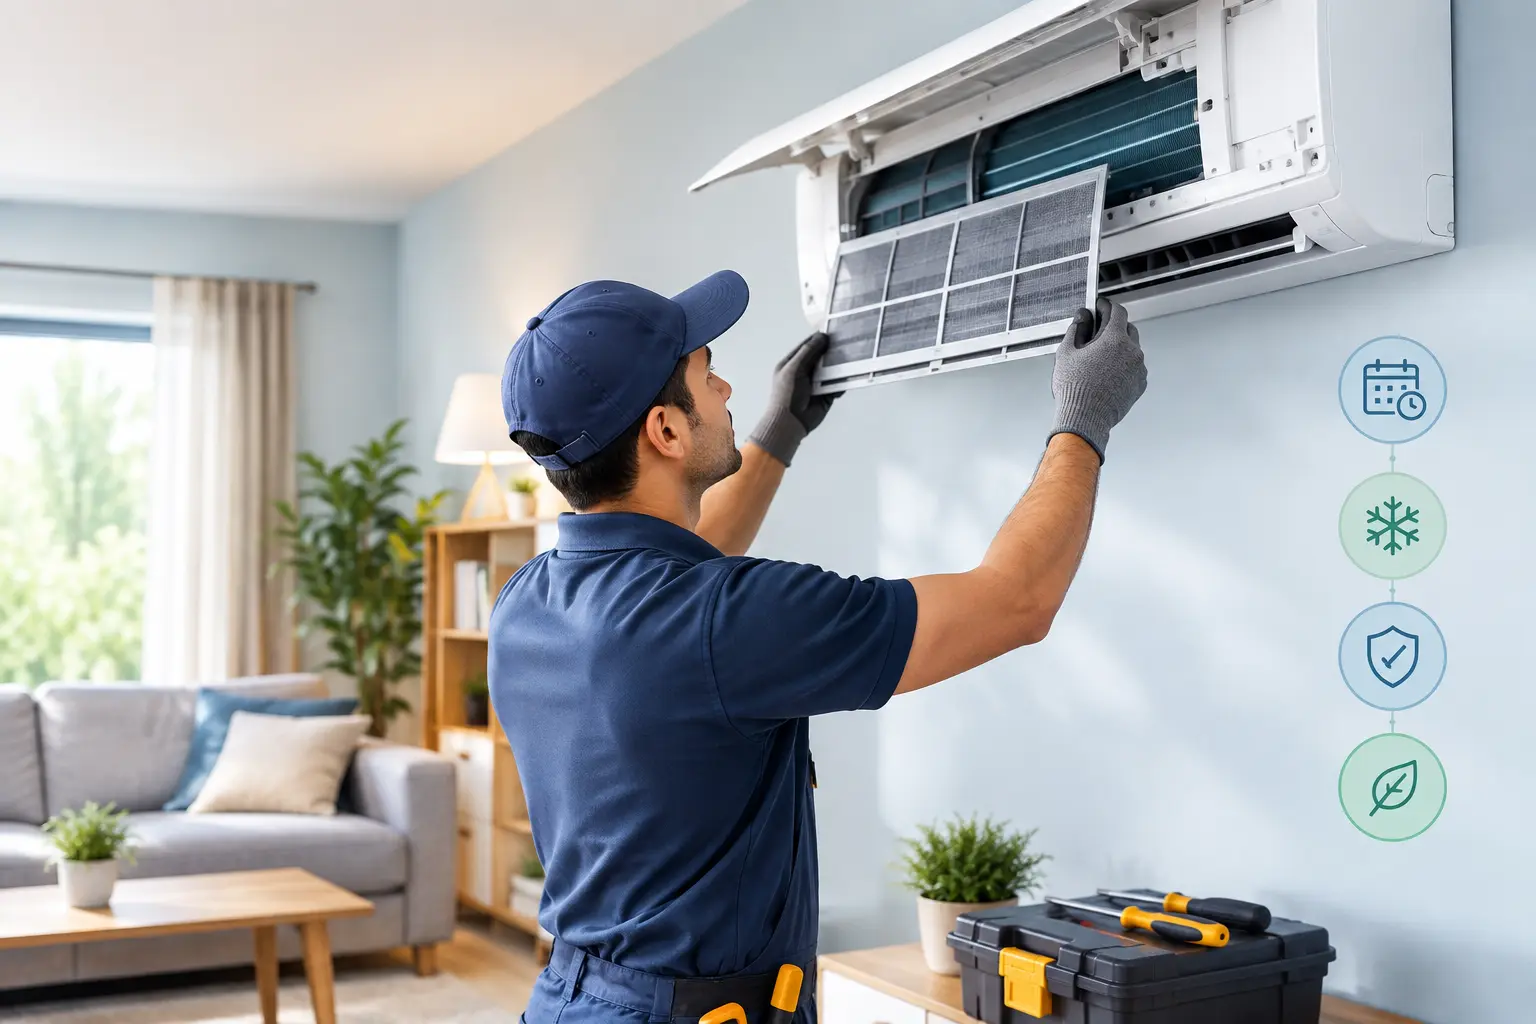
    1. Filter cleaning is the most important aspect of cooling efficiency. 

    2. Cleaning the coil, which ensures the compressor does not have to work harder than it needs to. 

    3. Checking the refrigerant level so that low refrigerant does not cause more costs. 

    4. Checking drainage may also identify any possible leakage and water damage. 

    5. Inspecting electrical connections ensures no connection is loose and hence becomes a safety hazard. 

    Regularly skipping even one of these is often the reason behind an AC going “suddenly” out of order. 

    AC Maintenance Tips You Can Do Between Professional Services

    There are several tasks that you can do in the time until your scheduled service: 

    • Clean the outer unit and apply a check on the access to it like by removing leaves and dust 
    • Check and replace the filter every 3–4 weeks while using the system frequently 
    • Leave a clearance of 2 feet around the outdoor unit to make sure that the air may flow 
    • Do not set the temperature at too low a level for a long time, as this will put pressure on the compressor 
    • Switch the AC on for a couple of minutes every week, even if it is off-season, to keep the components from sticking 

    All of these simple practices will prolong the life of your appliance and lessen the amount of work that it will need later.

    People Also Ask

    Is it possible not to service your AC for a year? 
    Naturally, a year without service means that dust has built over this time; the appliance will not cool efficiently and will lead to high electricity bills, and there will be a chance of damage to the compressor. 

    Can servicing the AC reduce the electricity bill? 
    Definitely. A clean and properly serviced AC will consume a smaller amount of electricity than a unit that has dirty coils and filters.  

    Is it possible to carry out the AC maintenance independently? 
    Cleaning filters and wiping the unit of dust is indeed possible. However, any checks regarding the refrigerant, coils, and electrical connections have to be done by an expert so that the appliance is not damaged. 

    Don’t Wait for the Breakdown

    AC upkeep is less appealing than maintaining other parts of a machine, but that maintenance can determine whether an AC unit works silently for many years or breaks down at the worst possible moment. The general recommendation is: schedule maintenance every 3-4 months and be attentive to the signs that the system is breaking down. 

    Would you like to get the air conditioner maintenance done before the heat wave comes? Make an appointment for AC maintenance with a certified specialist today to ensure that your air conditioner works without unexpected repairs. 
  • Geyser Buying Guide: How to Choose the Right Water Heater for Your Home

    Geyser Buying Guide: How to Choose the Right Water Heater for Your Home

    Purchasing a geyser involves three important factors: capacity (10-15 liters when used in single bathrooms, 25 liters or higher for family homes), geyser type (instant geyser for quick filling, storage geyser for constant hot water, or heat pump geyser to save on electricity bill), and safety certification (always look for an ISI mark and an auto switch-off feature). You can easily figure out the right geyser for you by checking the three features according to your household size and its hot water usage. 

    Why Picking the Right Geyser Actually Matters 

    Typically, people don’t realize that the geyser on the showroom floor is not the geyser they need for their homes. The price can be very low, and purchasing a cheap geyser will allow you to worry less about the supply of hot water during the winter months. However, if a person purchases a geyser that is too big for their home, they will have to heat more water than they really need. A buying guide on geysers is not about brands – instead, it is about choosing the device according to your specific lifestyle, bathroom conditions, and the size of your electricity bill. 

    It is important to remember that geysers are not “buy and forget” products. Such a device is installed on the wall and has performed its functions for years. Therefore, it is critically important to choose correctly to save money for years. 

    Storage vs Instant vs Heat Pump: Which Type Fits You? 

    This is the initial choice to make which influences nearly everything else. 

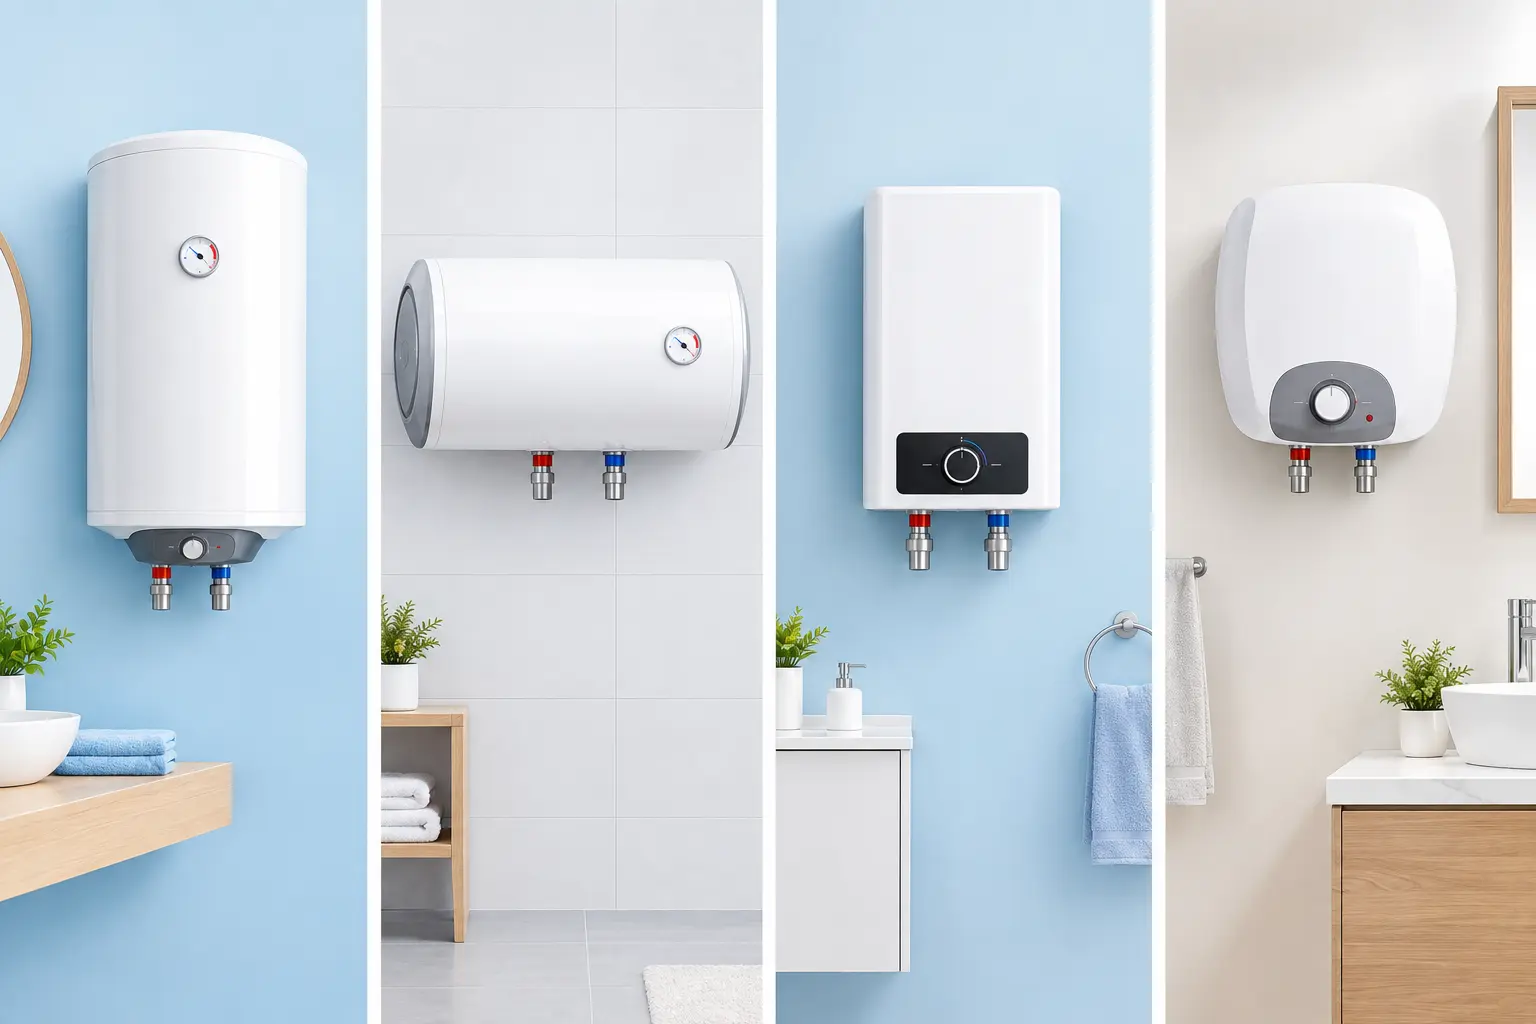
    Storage geysers – Storage geysers maintain and heat some water in the tank, which provides hot water on demand. They are good for large families or houses with many bathrooms, or if you need a constant supply. 
    The con of it is standby heat loss and re-heating even when you don’t use it. 

    Instant geysers – Instant geysers heat the water as they are required and are small. They work very quickly, which makes them good for single flats and places with unstable electricity. However, they have limitations because of the flow rate. 

    Heat pump water heaters – Heat pumps extract heat from ambient air. The initial investment is high, but the amount of energy used for water heating decreases significantly when used for a long period of time.

    How to Calculate the Right Capacity 

    No need to guess when you can use this simple formula: 

    • One person living in one bathroom needs a geyser of 6 to10 liters. 
    • 2-3 people using one bathroom need 15 liters of storage geyser. 
    • 4-5 people living in one or two bathrooms require 25 liters of storage units. 
    • A big family or people living in several bathrooms need 35 liters of unit or two different units. 

    In the case of using buckets instead of showers, you may buy a unit of smaller size. Conversely, shower fans can choose the bigger one. 
     

    Features Worth Paying Extra For

    Not every feature warrants an extra cost, but there are a select few that stand out:  

    • Auto-cutoff/thermostat control – Temperature regulation that does not fry the device or keeps it on standby. 
    • Glass-lined or titanium tank coating – Resistant to corrosion, most relevant for hard water. 
    • Pressure release valve – One of the more basic safety features that shouldn’t be ignored. 
    • 5-star BEE rating – Directly results in lower monthly electricity bills. 

    Fancy app connectivity or voice control is cute but dispensable. Give safety and efficiency features the necessary premiums first. 
     

    People Also Ask: Fast Answers

    How long does a geyser last?  

    Most geysers work well for 8-10 years with basic maintenance like de-scaling once in 2-3 years. 

    Is a 15-litre geyser enough for a family?  

    Yes, for a family of two or three with a low to moderate usage level. For larger families or shower-heavy households, consider going with 25L. 

    Which uses less electricity, an instant geyser or a storage geyser?  

    Instant geysers consume less electricity as they heat up only the quantity needed; however, storage geysers are more convenient for continuous hot water demand. 

    Is a heat pump geyser worth the extra cost?

    If your house consumes a lot of hot water on a daily basis, then generally long-term electricity savings will justify the extra upfront costs within a few years. 

  • How IoT Is Changing TVs, ACs, Refrigerators and Washing Machines 

    How IoT Is Changing TVs, ACs, Refrigerators and Washing Machines 

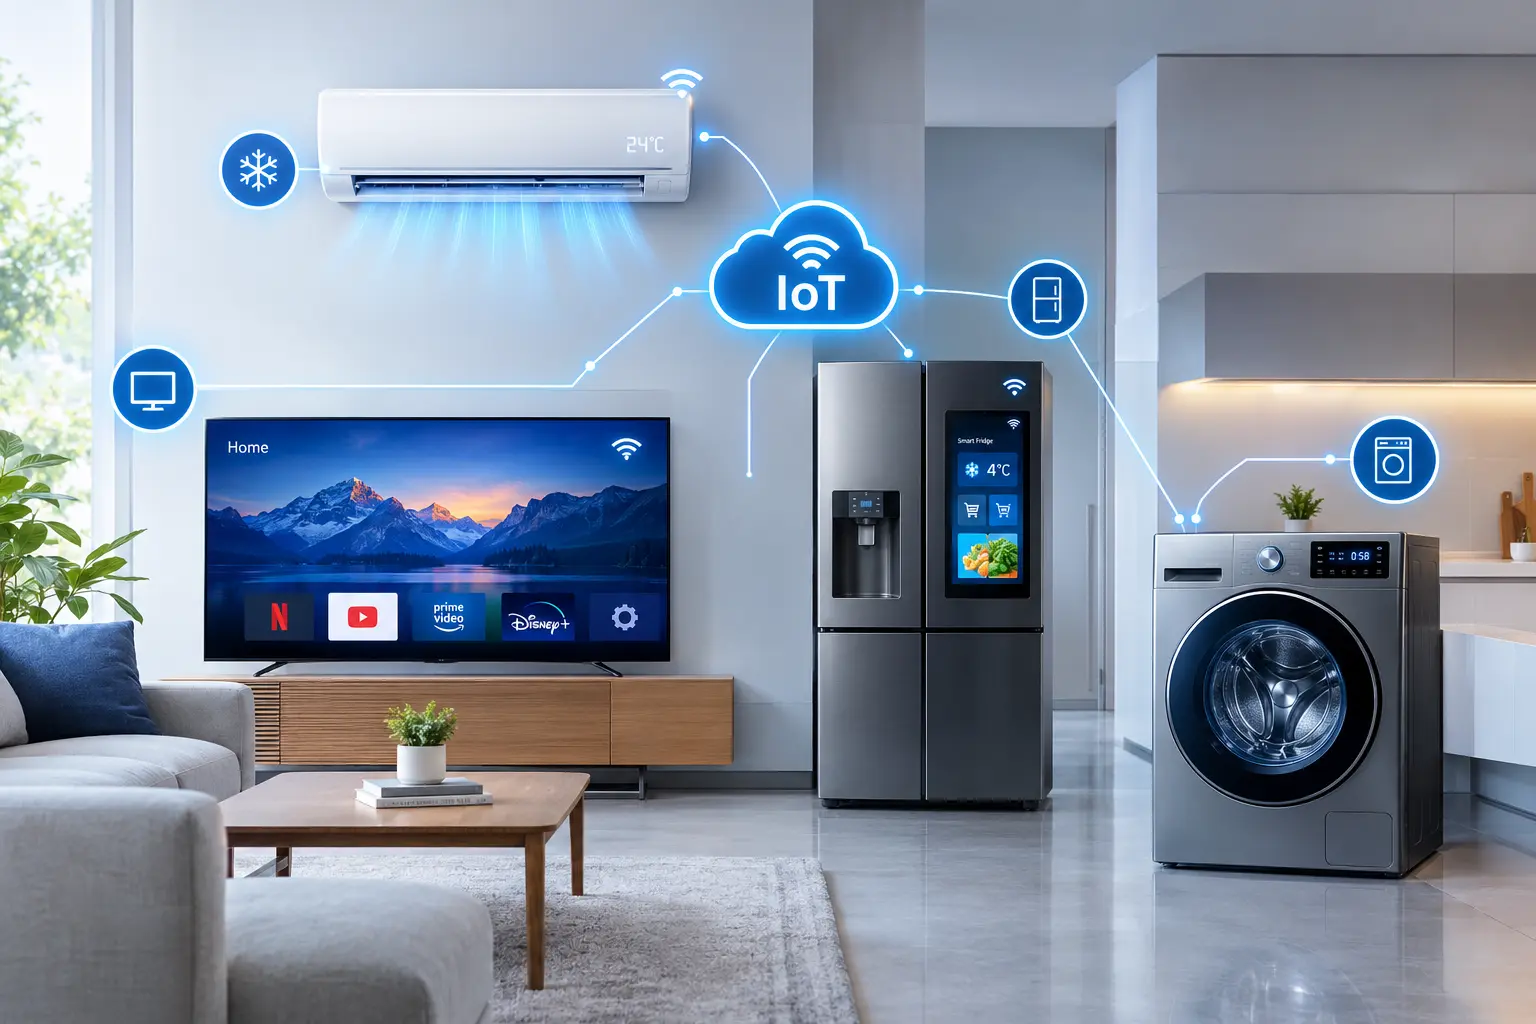
    The IoT (Internet of Things) is responsible for transforming home appliances by integrating computerized features and an array of modern applications. As a result, devices like televisions, air conditioners, and refrigerators are equipped with sensors that allow them to gather data, learn consumer patterns, and perform actions without manual intervention, thereby saving energy and preventing malfunctioning. 

    The statement mentioned above summarizes the essence of the transformation brought forth by the IoT. However, what remains to be answered is the question of “how”. The truth is that IoT modernizes household appliances in different ways, depending on the device that needs an upgrade. Let us analyze these devices separately, starting with television.

    TVs: From “Turn It On” to “It’s Already On For You” 

    Old way: One has to take three remote controls to determine which device is connected and then manually adjust brightness when the sun rises. 

    IoT way: 

    • One can use voice commands (for instance, “play Netflix”) and avoid searching through the menu of the device altogether. 
    • A sensor for ambient light will adjust parameters by itself from room to room. 
    • The television becomes a central unit for video doorbells or CCTV feeds. 

    Quick question: Does anybody need a special hub for the management of other devices?  

    The answer is no; current smart televisions operate on operating systems, for instance, Google TV, which is able to connect to the majority of other smart devices without the use of a hub.  

    ACs: From “Set a Timer” to “It Knows You’re Coming Home”

    Old way: You either leave the AC running all day to avoid a hot room, or walk into an oven because you forgot to switch it on.  

    IoT way:  

    • Geofencing makes the air conditioning turn on automatically when the phone gets within a certain distance of home.  
    • Inverter compressors enable the adjustment of power instantly instead of just shutting on and off.  
    • The app displays the device’s power usage, telling you the exact hours your compressor worked.  

    Quick question: Do IoT air conditioners help with electricity bills?  
    Yes, the inverter system acts much more economically than fixed-speed air conditioning of fixed speed when the compressor adjusts the power instead of just recharging.  

    Refrigerators: From “Guess What’s Inside” to “Check From the Store Aisle”

    Old way: You end up buying more milk even if you still have some and discovering the spoiled paneer after cooking.  

    IoT way:  

    • The internal cameras register the moment you close the door and send an alert when you need to know whether you still have food at home.  
    • Updating the shelf life of the goods by reading the barcode sends you a notification before the food spoils.  
    • Sensors warn you if the door is leaking or if you forgot to close it. 
       

    Quick question: Do smart fridges help in knowing when things are about to expire?  

    Yes, most of the models with barcode tracking or RFID technology send push notifications from one day to two days before the expiry date. 

    Washing Machines: From “Guess the Settings” to “It Weighs the Load For You” 

    Old method: You take a look at the importance of the load and guess detergent quantities and the fabric settings, hoping it does not ruin anything delicate. 

    IoTs method: 

    • Weighted sensors can determine the exact amount of water needed as well as detergent. 
    • You can program the cycle to get finished when you are entering your home, no more wet clothes waiting for several hours. 
    • Diagnostics show detected errors in the malfunctioning parts of the home appliances. 

    Quick question: Do IoTs use less water than traditional washing machines? Yes, as load-weight sensors can determine the water needed and its quality of it while the usual method uses fixed levels regardless of the load size. 

    Is It Actually Worth Upgrading?

    The old method of deciding: Buy the cheapest items and hope they’ll last as long as possible. 

    The IoT method of deciding: Find out the device that uses electricity for the longest period of time in your home, and upgrade that one (because this is the appliance that produces maximum savings on electricity and makes your life more comfortable). 
     

    The Bottom Line 

    IoT is not just adding another app to older appliances and computing what we mean by “using” these home appliances. Instead, it reduces uncertainty, helps save money, saves our efforts, and gives us more intelligent appliances that take care of themselves while we live our lives.  

    Would you like to take the plunge? Visit the store and see IoT in home appliances live and in action instead of putting off your smart home project till later. 

  • iPhone 18 Pro Buying Guide: 7 Upgrades You Should Know Before You Buy 

    iPhone 18 Pro Buying Guide: 7 Upgrades You Should Know Before You Buy 

    This year’s iPhone 18 Pro launch has happened under unprecedented conditions: the new CEO’s keynote came just eight days after Tim Cook assumed the role of Apple’s executive director, and Ternus introduced a completely different device with altered specifications and functions. 

    If you’re wondering how the phone matches its new price, let’s see what the iPhone 18 Pro has to offer. 

    1. The A20 Pro Chip Is a Real Leap, Not a Marketing Bump

    The new iPhone 18 Pro employs the A20 Pro chip, which is the first chip produced using the 2nm technology. It combines the 6-core CPU with a 7-core GPU that is said to be faster by 20% than last year’s A19 Pro. That allows for smoother gameplay and faster video processing. 

    2. Cooling Got a Serious Upgrade 

    No matter how advanced the phone’s features and hardware are, phone overheating can prevent it from delivering decent performance. Apple managed to solve the cooling issue in the new smartphone by replacing the cooling system with a newly designed vapor chamber.

    3. The Camera’s Party Trick: Variable Aperture

    This enhancement is one that everyone will be able to notice. The 48MP primary camera is equipped with a physical variable aperture consisting of six laser-cut blades adjusting themselves to the amount of light coming in and the depth of field that is required, just as it is done in a professional camera. There are four fixed, selected aperture settings, including the maximum f-value of f/1.48, useful for shooting in dark places.

    At the same time, there is an updated camera app which offers semiautomatic control over the settings of the camera shutter speed, white balance, and aperture. It is an almost professional device for those who are serious about taking pictures but do not want their traditional camera in their pockets at every time. 

    4. Battery and Display Upgrades You’ll Feel Daily

    The OLED display, with a size of 6.3 inches and a 120Hz refresh rate, has become able to provide the device with 24-hour battery life, while the dynamic Island has turned out to be capable of processing three live activities at the same time. So now either the delivery tracker, Uber, or the cricket score will fit in the global world. 

    5. Siri Finally Grows Up

    It seems that this year hardware innovations are less important than the software ones. The iPhone 18 Pro operates with iOS 27 and introduces Siri AI, a far more advanced assistant that started the rollout on a trial basis in mid-September. It can understand the realization of the tasks using the context of messages, emails, and pictures; this is the type of assistant Apple has been dreaming about for years. 

    6. Storage Options Now Go Up to 2TB 

    Whether you shoot a lot of ProRes video or usually do not delete anything, storage options now range from 256GB to 2TB of usable space if your current phone is always telling you to clear space. 

    7. The Price Jump Is Real – Budget Accordingly

    Here is a number that everyone is searching for: the iPhone 18 Pro starts at ₹1,64,900 for the basic 256GB version in India, which is significantly more than the price of ₹1,34,900 at which iPhone 17 Pro was launched. Pre-orders started on September 12, while sales started on September 18. If you are not rich, you may want to wait for a sale or rebate to make a purchase rather than buying the phone right away

    Quick Answers

    How much does the iPhone 18 Pro cost in India?

    ₹1,64,900 for the 256GB model and higher prices for an increased storage. 

    Which processor is inside the iPhone 18 Pro? 

    A20 Pro, the first-ever processor made by Apple, which is produced using 2nm technology. 

    Does the iPhone 18 Pro contain a shutter with variable aperture settings?  

    Yes, it contains a 48MP main camera with adjustable aperture down to f/1.48. 

    When is the iPhone 18 Pro available for sale?

    September 18, 2026, with pre-orders starting on September 12. 

    Should You Actually Upgrade? 

    If you’re coming from an iPhone 15 or an older model, or if your photography involves taking a good number of pictures in low-light conditions, upgrading is a no-brainer. Both the camera and chip advancements alone are worth the money. If you own an iPhone 17 Pro already, the upgrade is a weaker argument for you unless you’re easily excited by concepts like “variable aperture” or Siri AI capabilities.

    Still undecided? Compare the specifications of the iPhone 18 Pro with those of your current smartphone before you decide on purchasing it or skipping it.

  • The Budget Smart Home Blueprint: Automate Your Home in India Without Breaking the Bank 

    The Budget Smart Home Blueprint: Automate Your Home in India Without Breaking the Bank 

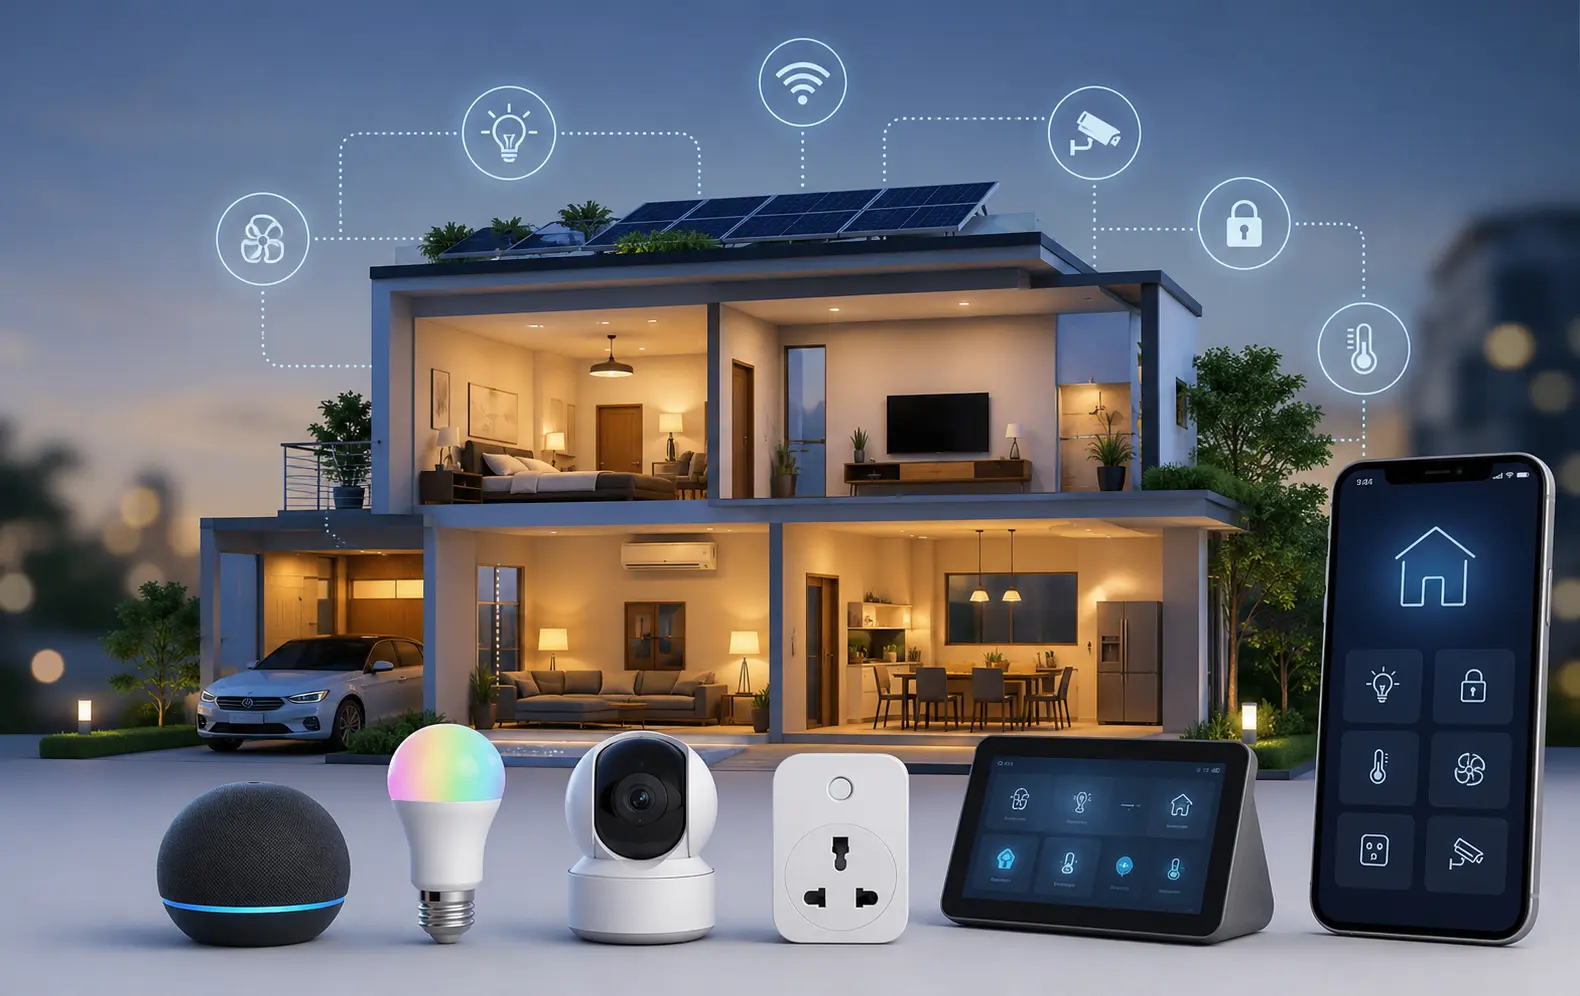
    In India, you can set up authentic smart home automation for as low as ₹3,000 through a stepwise upgrade process: start with smart plugs and light bulbs, then add voice assistants, and finally add security and climate control systems. One of the main reasons people spend more than they should is purchasing an all-in-one “starter kit” without understanding their actual requirements. 

    Conventionally viewed as something that cool kids do, smart homes are no longer reserved for rich people’s enjoyment. Voice-controlled lighting systems, smartphone-controlled security cameras, and air conditioners that know when to switch themselves on or off are the norm in the typical Delhi NCR household today.

    The problem is that the market is flooded with equally “fancy” smart home “kits” that are asking exorbitant prices, which means that most people end up paying for things they will never end up using. 

    Here’s a guide that will help you avoid paying extra for smart home automation. 

    Why Smart Home Automation in India Got Cheap (Finally)?

    Three things changed the math: 

    • Matter compatibility – A new industry standard that lets devices from different brands talk to each other, so you’re no longer locked into one expensive ecosystem. 
    • Local manufacturing – Indian brands now build smart plugs, bulbs, and switches at a fraction of import prices. 
    • Retail competition – Festive and Independence Day sale windows regularly cut 30-40% off entry-level smart home appliances. 
    • Translation: In other words, you don’t need to spend ₹50,000 on a “convenient package” to get a smart home. What you need is just a plan 

    The 3-Tier Budget Blueprint 

    Stop labeling a “smart home” project as a single purchase. It’s an upgrade project with three tiers. 

    Tier 1 — Beginner (₹2,000 – ₹5,000) 

    This is the least expensive way of entering the market, but the most beneficial. 

    • 2-3 smart switches (you will be able to operate any appliance — fan, lamp, geyser — with the help of your phone); 
    • 1 smart bulb for the main area; 
    • The smart switch will convert the ordinary appliance into a smart device. 

    This tier enables people to control the home with their voices and apps. 

    Tier 2 — Smart Living (₹10,000 – ₹18,000) 

    In this tier, people can acquire a voice speaker, a video doorbell, or an indoor camera. You will see that the house will start being automated (due to creating such a routine as “Good Night”) after reaching this tier. 

    Tier 3 — Full Automation (₹30,000+) 

    Here, people acquire smart air conditioning and vacuuming systems. It makes sense to reach this tier only when you know how to automate your home properly. In fact, most people skip this tier completely because of not understand the value of this point. 

    5 Rules to Avoid Overspending 

    1. Buying devices that function on the basis of Matter technology will save you from purchasing a new product in case of changing brands. 

    2. Start by buying light applications instead of spending a lot of money on changing the appliance for a smart one. 

    3. Buy major appliances during holiday sales. 

    4. Before purchasing, make sure to check for installation and service support. An intelligent AC or geyser with no installation guarantees is more of a liability than an asset. 

    5. Unless you are going with a Tier 3 upgrade, avoid gadgets that require a hub. Most Tier 1 or 2 gadgets connect via Wi-Fi. 

    Buying Smart Home Appliances in Delhi NCR – What Actually Matters? 

    The web is good for buying cheap products like smart plugs, but it becomes risky when one seeks professional installation of pricey gadgets like smart ACs and geysers because claims and installation become harder to execute without local service centers. 

    Rakesh Retails offers budget-friendly gadgets in addition to full-size appliances in its stores across Delhi NCR with authorized installations and EMI options for bigger purchases, so your Tier 3 upgrade is stress-free. 

    It is time to start your Tier 1 upgrade or go for a smart AC purchase. Check Rakesh Retails for appliance ideas or visit one of their stores to get hands-on experience with installations. 

  • Before You Buy: The Smart Shopper’s Home Appliances Checklist

    Before You Buy: The Smart Shopper’s Home Appliances Checklist

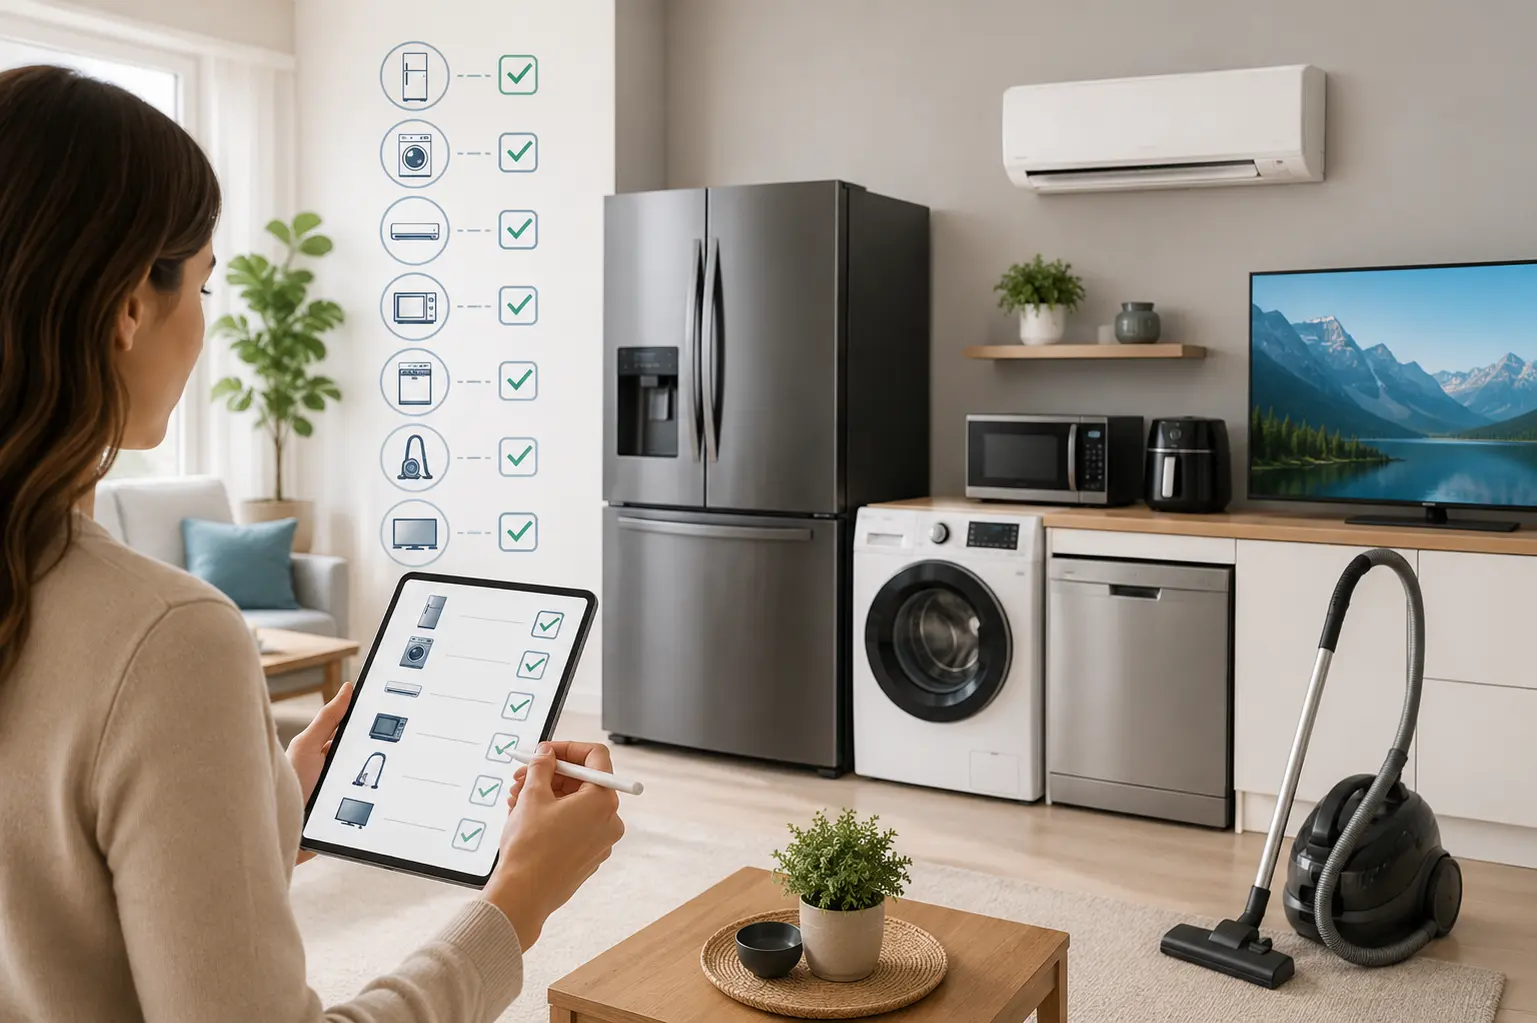
    For most consumers, the acquisition of a refrigerator or washing machine is as easy as purchasing a T-shirt. They spot a good price, check one specification, and make a payment. But the appliance will be used for eight to twelve years, and every carelessness made will manifest itself on the electricity bill, service call, or “why on earth didn’t I check this” moment.  

    However, making smarter buying decisions only requires fifteen minutes of your time beforehand to compare what might sound like the most generic tip ever received by a consumer, continued in the text below.  

    Are You Buying for Your Actual Household, or an Imagined One? 

    Ensure the capacity fits actual needs and not dreams. A 7-kg washing machine purchased for a family of two will run half-empty every time, and a 190-liter refrigerator purchased for a family of five will call for a grocery trip once in three days.

    Before considering different models, make a list of how many people are in your family, how often you cook, and how much food you store. This simple step will save you a lot of remorse afterwards about the ill-chosen appliance.  

    Does the BEE Star Rating Actually Change Anything? 

    They do, and even more so over the years of using an appliance. Changes made by the Bureau of Energy Efficiency in the star classifications of appliances mean that an appliance with five stars is more likely to save you energy than a three-star appliance from the same brand, as the difference in BEE standards of testing is compelling. 

    Although the purchase price of a 5-star appliance is higher, the lower running costs, especially for daily-use appliances such as air conditioners, refrigerators, and washing machines, make it worth the investment in a few years. So, check the ratings mentioned on the website, not only the brand name.

    Will It Physically Fit Your Home? 

    Make sure to take your measurements before you start liking the appliance. For example, check if you have enough door clearance for your refrigerator, check the depth of the window air conditioner bracket, and consider the space at the back of the washer for plumbing amidst any other specifications you might be missing. While buying your appliance online, check the product’s dimensions against your requirements at home, not with your guesses. 

    Is There Real Service Support Where You Live? 

    A good appliance needs access to service options if you do not want to face problems in the future. Therefore, it is vital to check if the brand offers service in your city before making the purchase. This is especially important for large electrical items because they need installation and follow-ups, which become problematic without the right people.

    What’s the Real Price, Not the Sticker Price? 

    Consider your installation expenses, EMI costs, and exchanges before making a comparison. A split AC that is advertised at ₹3000 less than its competitors can actually be more expensive. Similarly, it is also important to watch out for hidden charges associated with a no-cost EMI and exchange policies regarding your old appliance. 

    What Does the Warranty Actually Cover? 

    When it comes to appliances, most warranty programs only apply key components rather than the whole unit. For instance, a washing machine advertised as having a “10-year warranty” only offers a 10-year warranty on the motor and nothing else, which is often limited to 1 or 2 years. Make sure to read the details of the warranty when making your purchase decision, since a long warranty term may not necessarily mean a good deal. For instance, a store provides a free first service/first demo with a purchase that allows customers to get acquainted with the product and catch potential manufacturing defects earlier. 

    Online, In-Store, or Both? 

    The smartest consumers do both: conduct online research and confirm the findings in brick-and-mortar stores. Doing the research online is by far the fastest way to compare features and prices, but buying an appliance is a tactile experience: you would want to open the fridge, open the washing machine, and feel the remote control of the TV set. If you know a store that combines both a regular showroom and an online store with the same prices and stock, you can take advantage of both channels. The downside of many ordinary electronic stores is that they operate online only.  
     

    The Checklist, In One Place 

    Before you check out, confirm you’ve covered: 

    • Usage: Match the capacity to your actual needs and not dreams. 
    • BEE: Consider how often you will be using the appliance. 
    • Size measurements: Ensure you measure the appliance dimensions and your space as well. 
    • Service Center: Confirm that the appliance you are buying is within the reach of the service center and not just indicate your state as a whole. 
    • Final price: Ensure you take into account all the associated costs, including installation, EMI, and exchange payments. 
    • Warranty: Be aware of what the warranty entails and for how long.  
    • Purchase method: Confirm that you buy your appliance through a store that has both online and offline representation. 

    Where This Gets Easier 

    This is precisely the gap that Rakesh Retails had identified as its opportunity to fill as an exceptional electronics and home appliances retailer in Delhi NCR: physical stores offering you the chance to try out the product by seeing it, taking measurements, opening the refrigerator door to check for yourself one model while comparing it to another one already present in the store, supported by the online store with genuine BEE certified products at similar prices.

    All products come with a manufacturer’s warranty, which in the case of most electrical appliances, includes free installation as well as easy EMI options available at checkout. 

  • How to Choose the Right AC Based on Your Room Size?

    How to Choose the Right AC Based on Your Room Size?

    Wanting to invest in an air conditioner but failing to account for your room’s size and space requirements risks draining your finances in two ways: the purchase will cost you a lot, and you will have to incur extra energy expenses every month. An air conditioner that’s too small will work all the time yet will not cool the space effectively, while one that’s size too big will cool off the room too quickly and will cause discomfort because it will not dry the air for you.

    Quick Reference: AC Tonnage by Room Size 


    Room Size Recommended AC Capacity Typical Use 
    Up to 120 sq ft 1 Ton Small bedroom, study room 
    120–180 sq ft 1.5 Ton Standard bedroom, most common in Indian homes 
    180–250 sq ft 2 Ton Master bedroom, living room 
    250–400 sq ft 2.5–3 Ton Large living room, hall 

    To calculate the area of your room, you need to take the length and multiply it by the width. For instance, a bedroom that has dimensions of 12 ft x 12 ft equals 12 x 12 = 144 sq ft, which means you will need a 1.5-ton air conditioner. 

    Factors That Change the Calculation 

    The area of the room is just the beginning. There are several other factors that will change the number: 

    1. Roof height – The calculations above are based on the assumption that the ceiling height does not exceed 9-10 ft. If the height of your ceiling is about 12 ft, you will need to add 0.5 tons of capacity to your calculations due to the need in cooling more air. 

    2. Sun exposure – A west-facing room is at higher risk of heating up faster, and so is an apartment located on the top floor if it is under the roof. 

    3. Number of people – Different factors like the number of people living in the apartment, as well as the equipment that generates heat, need to be taken into consideration. If a room is designed for two people but has four or five most of the time, then it will need an air conditioner with a bigger cooling capacity. 

    4. Insulation and count of windows – The room with a large number of windows and low insulation in the walls tends to lose cool air quickly. Use of curtains, double glazing, and sealing can reduce the cooling load, thus making it feasible to follow the standard chart while choosing the AC unit in places with high temperatures.  
     

    Best AC for Bedroom in India: What Actually Matters

    When considering the best AC for bedrooms in India, three key features matter more for selecting the ideal unit than its brand. 

    • Choosing an inverter AC rather than a fixed-speed AC – The inverter compressor works effectively by adjusting the cooling supplied by the AC, while it does not switch off; you can enjoy a constant temperature and less noise during night hours. 
    • The BEE star rating – The BEE rating system can save you up to 15-20% of the operating expenses during the year. 
    • Voltage range – When selecting an AC unit, don’t forget to verify the voltage range from 140V to 280V to use it with no stabilizer in areas where the voltage keeps fluctuating.  
       

    The reason why split air conditioners are better suited for bedrooms is due to the fact that they generate less noise compared to the window units.

    Step-by-Step: Sizing Your AC Correctly 


    • To start, the length and width of the room should be measured in feet to calculate floor area. 
    • Then, see if it corresponds to the tonnage table above. 
    • If the room has more than a 10 ft ceiling, is sun-facing, or is on the top floor, then 0.5 tons need to be added. 
    • An additional 0.5 ton should be added if there are at least four people occupying the room or are heat-producing electronic items present in it. 
    • It is advisable to buy an inverter air conditioner with at least a 4-star rating given by the Bureau of Energy Efficiency for rooms with regular usage. 
    • If your final total falls between two tonnage levels, you should opt for the bigger tonnage option since having an AC running below its inverter capacity is less efficient than having a bigger AC working at its full capacity. 

    Common Sizing Mistakes to Avoid 


    • Buying the capacity according to the size of the hall for bedroom ACs, as every room has to be worked out separately. 
    • Not thinking about the ceiling height. If there are two rooms, i.e., having the same floor area but different ceiling heights, then they would have different tonnages. 
    • Buying a non-inverter ac instead of an inverter unit just to save initial cost. Within two or three summers, the difference could be eliminated with the help of power bills, and inverter units would result in better temperature control. 
    • Not comparing star ratings. The difference between a 3-star AC and a 5-star model could reach ₹3,000 to ₹5,000 in terms of annual running costs. 

    In Short

    Figuring out the right AC capacity according to room size is basically about the size of the room but should also include ceiling height, sun position, number of people in the room, and insulation type. For your average Indian bedroom, a 1.5-ton, 5-star inverter split AC works as required most of the time. If your room volume turns out to be two sizes, it is better to opt for a larger inverter unit.

  • Building Your Dream Home? A Complete Electronics Checklist    

    Building Your Dream Home? A Complete Electronics Checklist    

    Moving into a new home presents an unanticipated challenge: the empty rooms, the vacant walls, and the lack of functioning appliances. A home electronics checklist comes in handy to avoid frantic shopping trips through various stores on the day of the move. Here is a room-by-room breakdown of what to purchase, why the items are important, and how to avoid overspending in Delhi NCR! 

    Why a Checklist Beats Impulse Shopping

    Shopping by room instead of by store saves money and prevents the need for multiple trips. Purchasing a fridge without prior assessment of where the power socket is located, or a chimney without knowing the size of the stove, can result in an exchange or alteration of wiring later. Planning your purchase room-by-room and determining how much energy each item uses is the key!

    Kitchen: The First Room to Wire

    • Refrigerator – It should be chosen according to the number of people living in the house, as 200-300L is usually enough for 2-3 people, while families of 4 and more need at least 400L.  
    • Chimney and stove – Chimney width should match stove size (either 60cm or 90cm). Leaving the chimney too small causes grease accumulation for months.  
    • Microwave or OTG – A 20-25L microwave capacity will be enough for heating food, while convection microwaves can also be used for baking. 
    • Water filter – It should be an RO+UV type if you live in Delhi NCR because groundwater TDS in the area is high, but make sure to check the TDS in your area before purchasing the filter.  
    • Mixer grinder and electric stove – These tools will come in handy during gas delays and in homes without gas connections. 

    Living Room: Entertainment and Comfort 

    • TV set – 43-inch screen for spaces under 120 square feet; 55-inch or larger for larger spaces. It’s obligatory to keep the distance to the screen checked (approximately 1.5 times the size of the screen in feet). 
    • Air conditioner – 1-ton for space less than or equal to 120 square feet, 1.5-ton for space up to 180 square feet; inverter air conditioners are more expensive as an initial investment, but they reduce summer electricity costs in Delhi by 20-30%. 
    • Soundbar or home theatre – Not necessary, but recommended. 
    • Wi-Fi router – Should be installed in a place not far from the rooms. 

    Bedroom Items

    • Air conditioning system (split or window unit) – While the installation of window units is cheaper and requires external wall space for units of split type, it is more appropriate for rooms with ultramodern architecture. 
    • Ceiling fan (BLDC motor) – Consumes only around 28W instead of a normal 75W. 
    • Water heater/geyser – The best choice is a 15-25L geyser for the bathroom with one sink; instant geysers are needed when only a few people use the bathroom. 

    Power Back-up Equipment 

    • Inverter system with a battery – A 1500VA inverter set with a tubular battery can operate fans, lights, and the television for 3-4 hours during a power cut. 
    • Voltage stabilizer – Protects the air conditioner and refrigerator from voltage fluctuations in NCR. 
    • UPS for home office – A small UPS is enough for routers’ and laptops’ functioning during short power cuts. 

    Safety and Smart Additions 

    • Smoke alarm – Rather cheap equipment, usually neglected but actually important, especially if there is an LPG pipe connection in the house. 
    • Smart socket and doorbell with camera – Excellent option for making your house look safer and easier for people who are approaching you while you’re away. 
    • Power strips with surge protection – A good investment; 2-3 more power strips should be purchased since your new house will not have enough sockets. 

    Where to Buy: Best Electronics Store in Delhi NCR

    Delhi NCR offers three practical routes for sourcing this checklist: 

    1. Top electronic chain stores (Rakesh Retails, Vijay Sales, Reliance Digital) – Common prices, good service once you purchase more expensive items such as an AC or refrigerator.  

    2. Wholesale markets (Nehru Place, Karol Bagh’s Ghaffar Market, Wazirpur Market) – Good prices on some items; however, warranty service differs from one outlet to another. 

    3. Local stores – Make faster acquisitions, particularly with items that do not require a market trip. 

    To save time, it is recommended to purchase expensive items from authorized retailers for proper warranty service and buy cheaper equipment from a trustworthy local store. 

    A Quick Buying Sequence 

    1. Verify electrical plans and the number of sockets available. 

    2. Reserve the essential appliances 2–3 weeks before moving in; installation slots are quite busy during the holiday season. 

    3. Order a backup power source (inverter, stabilizer, etc.) as early as possible, as it takes a day to install and should be completed well before using appliances. 

    4. Purchase the necessary smaller items for extension cords, smoke alarms, smart plugs in the days preceding move-in. 

    Making a shopping list for your move-in? Begin with the expensive appliances, purchase a warranty with an authorized seller, and finally fill out the rest of your list with a reliable local electronics store.


  • How To Set Up Voicemail On Android Phones

    How To Set Up Voicemail On Android Phones

    Picture this: an urgent call comes in while you’re enjoying time with family, cooking dinner, or hitting the gym, so you can’t pick it up. Voicemail makes sure you don’t miss that connection. Many Android smartphone users fear that setting up voicemail will be difficult, but the fact is, it’s one of the fastest and easiest setups you’ll ever do. Whether you’re switching from an iPhone, activating a brand-new Android device, or simply haven’t gotten around to it yet, the process is simple. Let’s get your voicemail activated so you never miss out on what’s important.

    Check If Voicemail Is Supported by Your Carrier

    Before you get into the setup process, it’s important to make sure that your mobile carrier offers voicemail services. Most of the major carriers include this feature in their plans, but it’s always best to double-check, especially if you’re on a budget carrier or prepaid plan.

    Once you’ve verified that your carrier does support voicemail, you might wonder how to set up voicemail on your Android phone. You can quickly check this by visiting your carrier’s website, looking at your plan details online, or simply calling their customer service. Some carriers could charge a minor monthly fee for voicemail, while others may offer it for free as part of your plan. Premium features like visual voicemail might come with additional costs, so clarify what’s included before proceeding.

    How do I set up Voicemail on my Android Phone?

    Setting up traditional voicemail is a simple process that takes just a few minutes. Here’s what you need to do:

    • Open your Phone app, the green icon you use for making calls. The process to set up voicemail on Android begins right here.   
    • Look for the voicemail icon, which is at the bottom right of your screen, or tap the three-dot menu and choose “Settings.”  
    •  Locate and tap on “Voicemail” in the settings menu. You may need to enter your carrier’s specific voicemail access number to set up the voicemail number if it isn’t automatically configured.   
    • Press and hold the “1” key on your dialpad to access your voicemail.   
    • Listen to the automated system and follow the instructions to create your personal greeting and a PIN or password for security. Make sure to choose a PIN you’ll remember, but others can’t easily guess.   
    • Finish the Android voicemail activation by recording your name and personalizing your greeting message. Speak clearly and include your name so callers know they’ve reached the right person.  

    How To Set Up Visual Voicemail On Android Phones?

    Visual voicemail is a game-changer for managing your messages. Instead of calling in and listening to messages in order, visual voicemail organizes your messages in a list, so you can decide which ones to listen to first. To make sure everything goes smoothly, follow these voicemail setup steps:

    • Open your Phone app and go to the voicemail tab. To set up voicemail on Android, your carrier must support this service.   
    • Tap “Activate” or “Turn on” when the visual voicemail option is displayed.  
    •  Allow any permissions the app requests for notifications and phone access. These permissions are necessary for the app to function properly.  
    •  Wait a few moments while the system prepares your visual voicemail inbox. This usually takes less than a minute.  
    • Set up your PIN and record your greeting through the visual interface. The visual setup often makes this process easier than traditional voicemail.  

    Conclusion

    Whether you opt for the classic voicemail or the more user-friendly visual option, you’ll start receiving the messages in no time. Don’t forget to create a secure PIN that you can easily remember, and customize your greeting so that callers are aware they’ve reached the right person. With your voicemail now properly set up, you can go about your day with confidence, knowing that important messages will be waiting for you whenever you’re ready.

  • How To Clear The Cache On An Android Phone

    How To Clear The Cache On An Android Phone

    When you open a website or an app more than once, it often tends to load or function faster. This faster functionality is the result of cache. Cache functions like a short term memory that stores data temporarily, retaining bits of layouts, images or scripts. This process saves time, but its accumulation can slow down device performance. Understanding its types and how to clear cache in Android can help prevent such issues. 

    Types of Cache on Your Android Phone

    All caches do not serve the same purpose, and their locations also differ. To effectively clear the cache, it is important first to understand common types and their functions:

    • Web Cache: This type of cache is stored by browsers. When browsing the web, you may open certain websites or webpages frequently, and the web cache stores data like images and scripts from these pages to help with quick loading.   
    • App Cache: This cache stores data that relates to all apps that you frequently use. The data stored includes images, texts, and other media files that help with the swift opening of the app. It helps reduce reloads and buffering.   
    • System Cache: The operating system manages system cache. It helps accelerate system tasks like app switching and screen transitions.   

    How to clear cache in Android Phones

    If you want to understand how to clean an Android smartphone cache, read through the following methods: 

    Method 1. Clear App Cache Through Settings

    These steps will help delete app cache on Android through settings:

    • Open your device’s ‘Settings’ app. 
    • Tap on ‘Battery and device care.’ 
    • You will find a ‘Memory’ option wherein you have to tap on ‘Apps not used recently.’ 
    • Browse through this list.
    • Select an app that you want to clean. 
    • To clean, tap on the app and tap on ‘App Info’ and then on ‘Storage.’ 
    • A ‘Clear cache’ option will be available.   

    Method 2. Clear Cache for All Apps at Once

    To clear the cache on an Android phone for all apps, follow these steps:

    • Open the Settings app. 
    • Search for the ‘Storage and Memory’ option, where ‘Device care’ may be available. 
    • An option like ‘Cached Data’ or a cleaner tool may be available. 
    • Once you tap on it, you may be able to clear all app cache.   

    Method 3. Wipe System Cache Partition

    • Turn your phone off.
    • Press and hold the volume up and power buttons at once.
    • Release when the recovery menu pops up.
    • Use the volume down button to navigate the menu and highlight the ‘Wipe cache partition’ option.
    • Press the power button to select it and highlight ‘Yes’ by using the ‘Volume Down’ button.
    • The system wipes the cache, and pressing the power button helps reboot the device.   

    How to clear browser cache in Android

    If you use a browser like Chrome on your Android device, clearing the cache will help improve its browsing speed. Follow these steps to clear browser cache:

    • Open your browser and look for the menu. If using Chrome, tap on the three dots in the right corner. 
    • From the set of options, tap on ‘History’ and then choose the ‘Clear Browsing data’ or similar option. 
    • Select the ‘Cached images and files’ option to get rid of cookies, browsing history, and search. 
    • You can then choose the desired time frame and tap on ‘Clear data.’  

    Conclusion

    Clearing the cache helps eliminate temporary files and data, which then frees up storage. It can significantly boost system, app, and browser performance. There are many methods for clearing the cache when it comes to Android devices. Each of these is meant to clear a specific cache. Use these techniques to maintain your Android phone and eliminate the risk of performance issues.